How to prepare at-breast supplementation
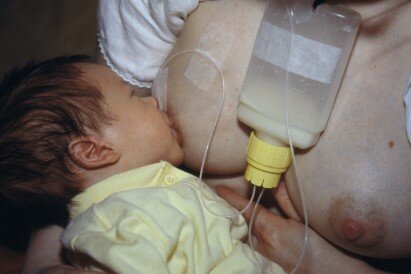
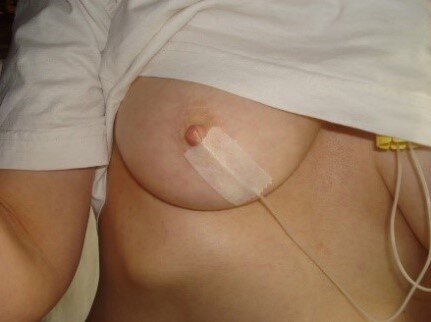
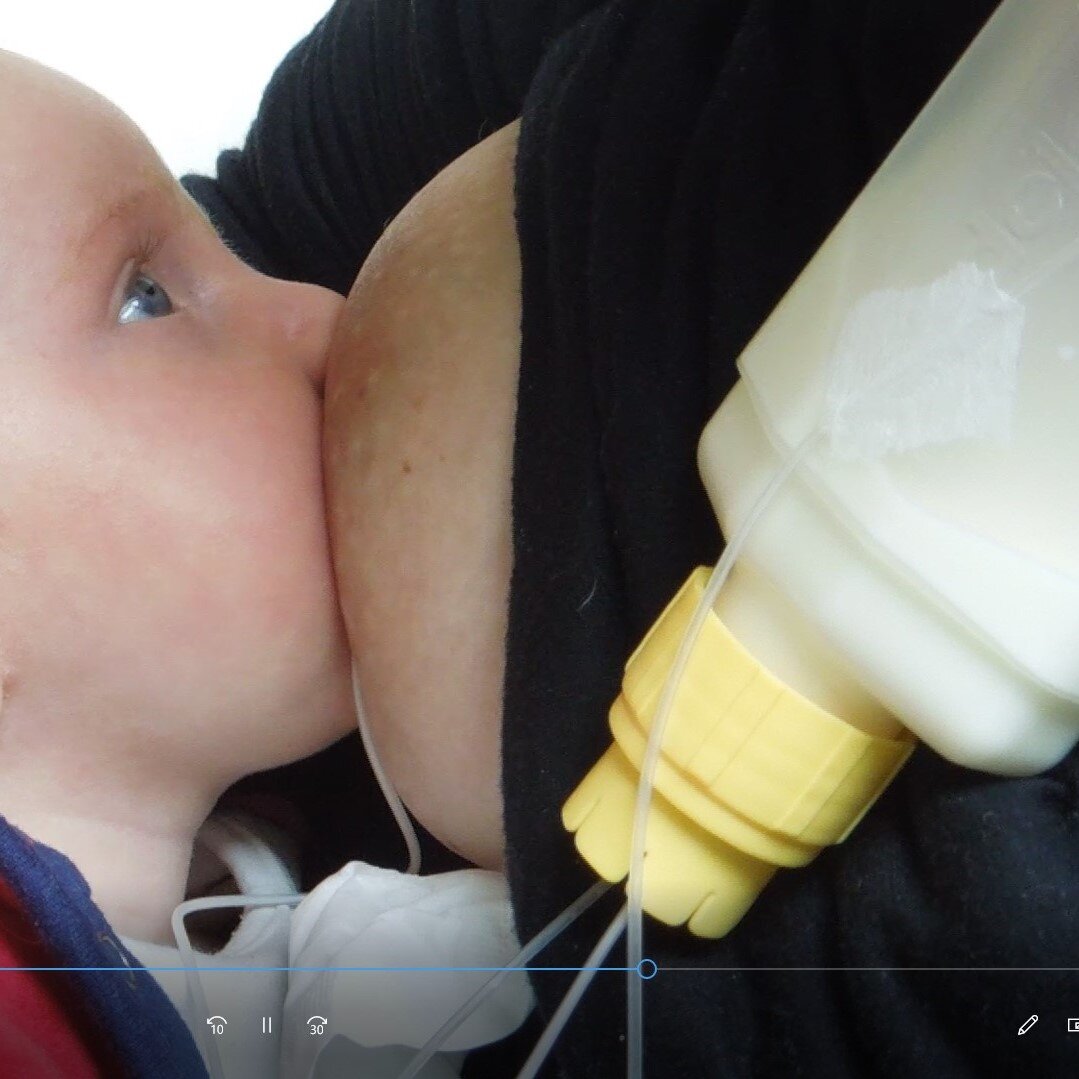
Carefully preparing the at-breast supplementer makes latching your baby easier. On this page, assembling the device is shown for the Supplemental Nursing System (SNS). Other devices are assembled in a different way. The description how you tape the tube to the breast is valid for all types of at-breast supplementers.
You need …
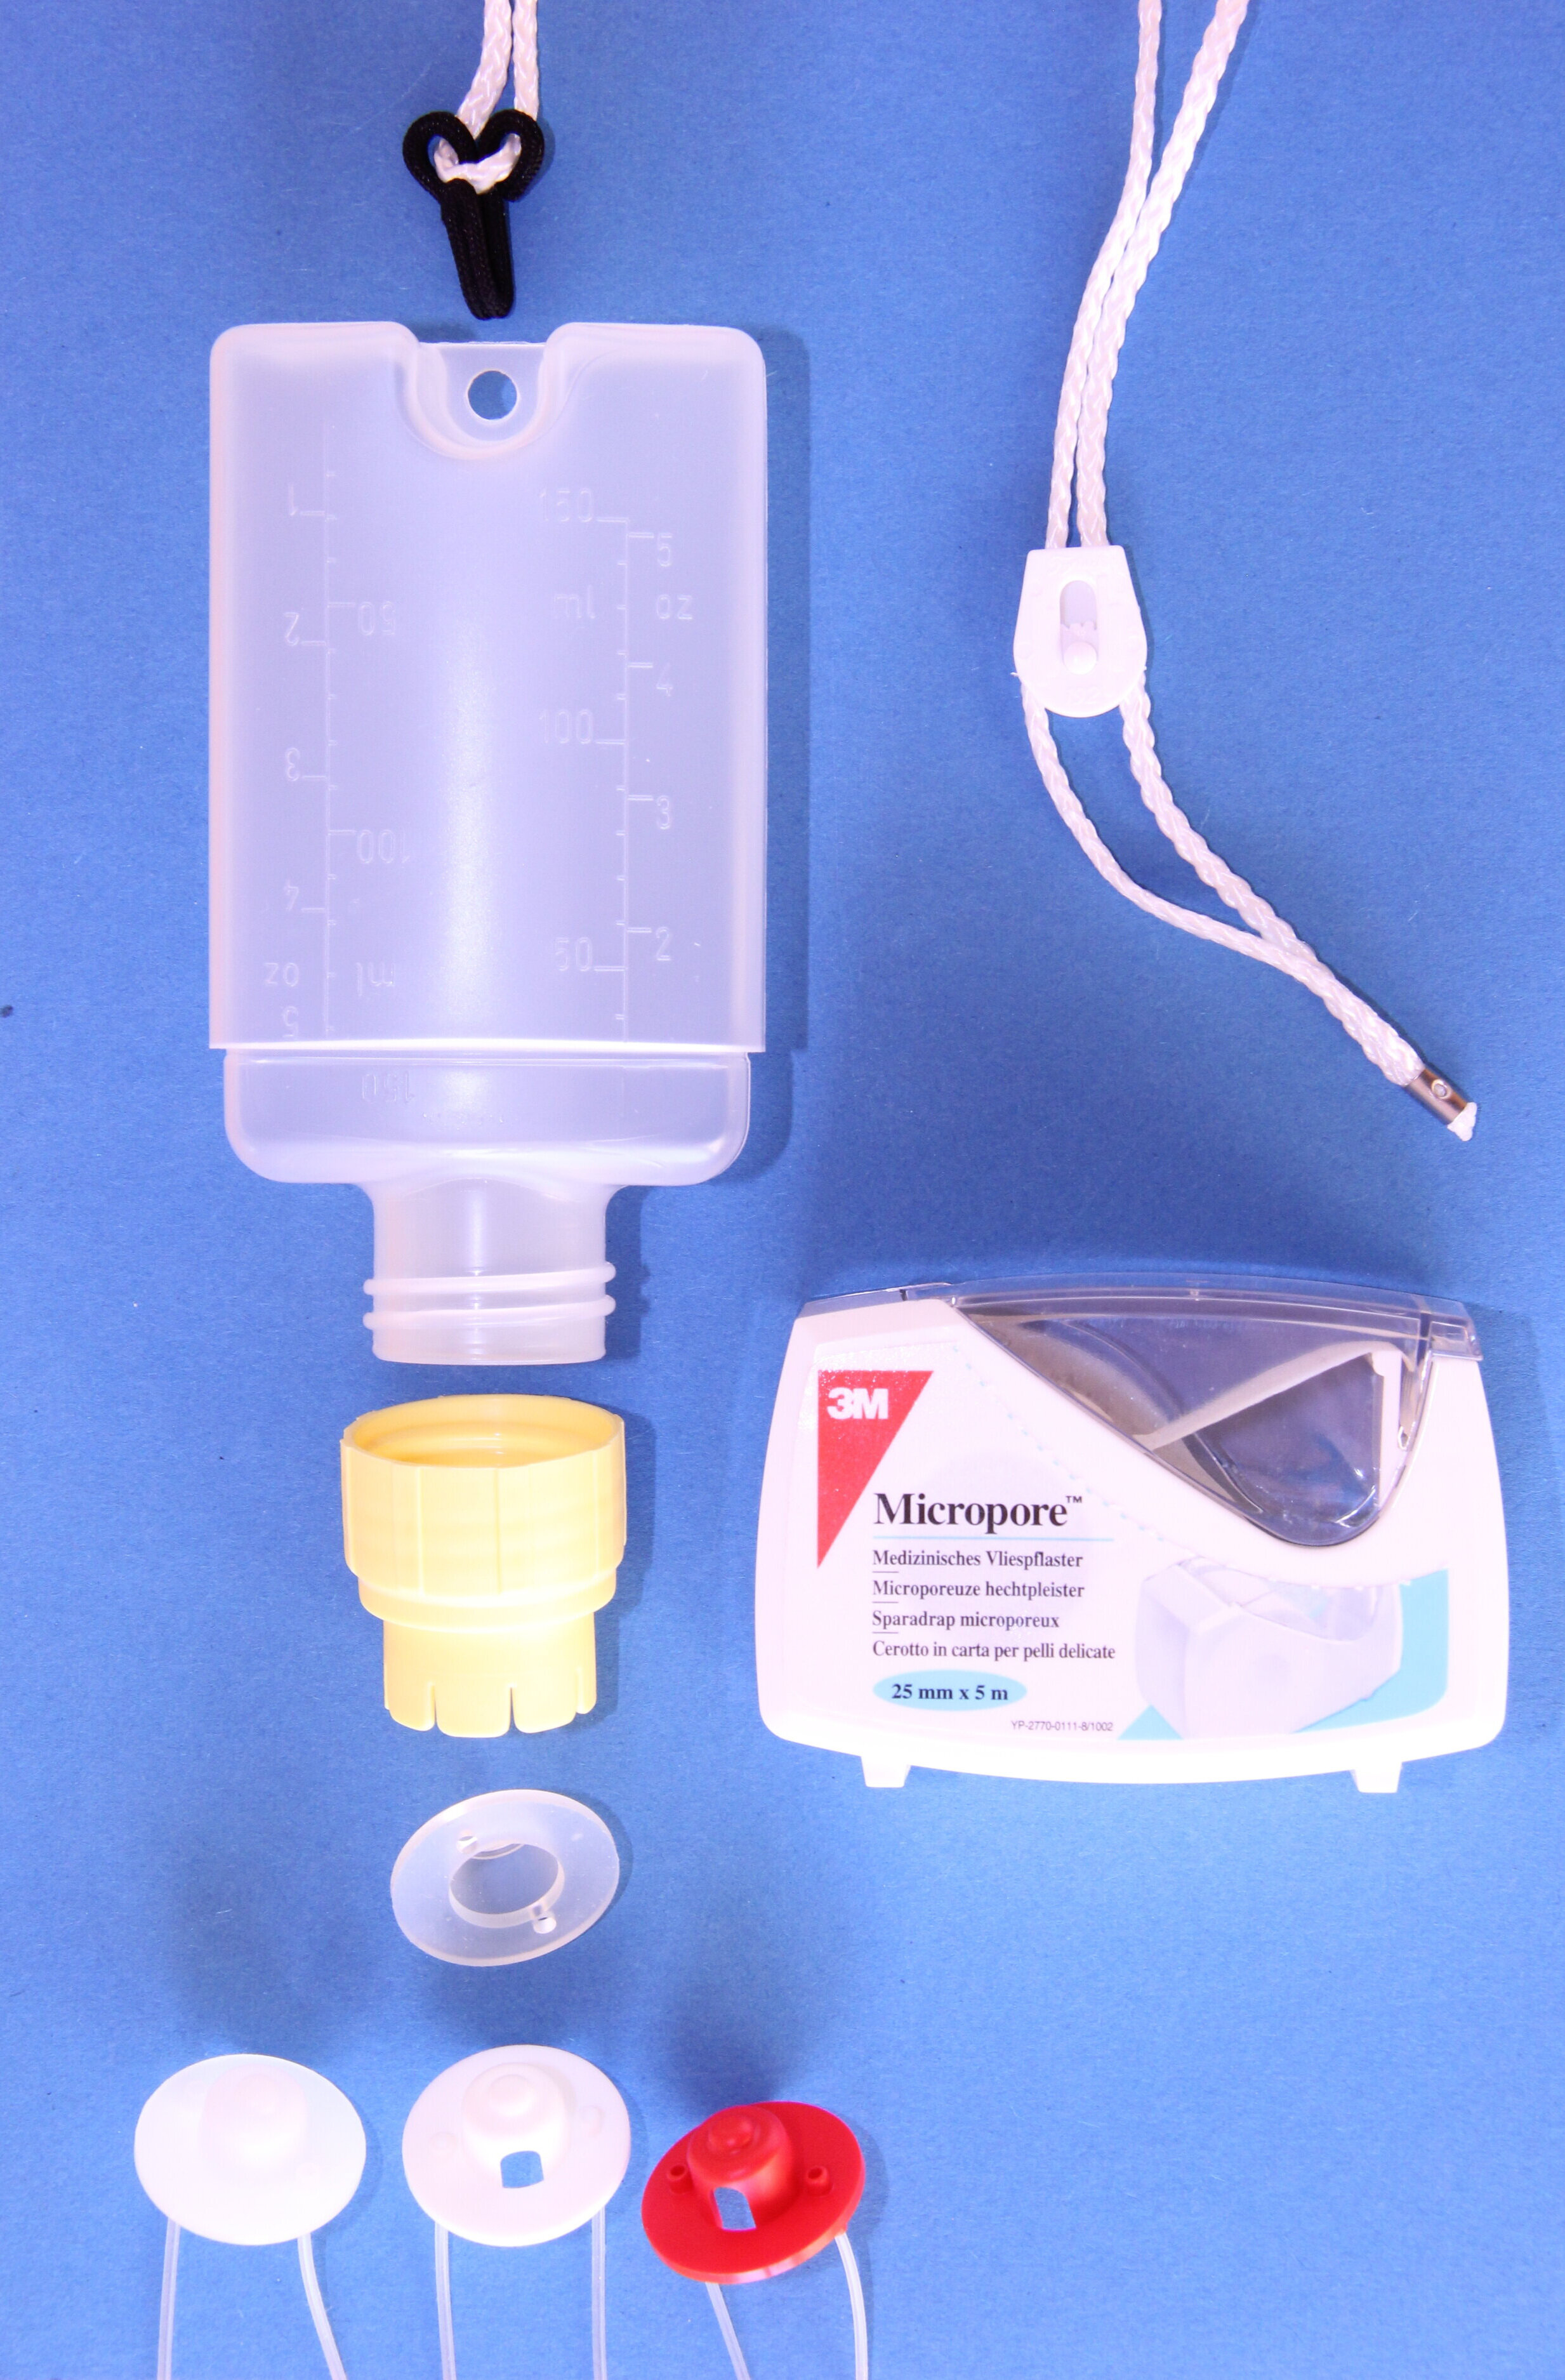
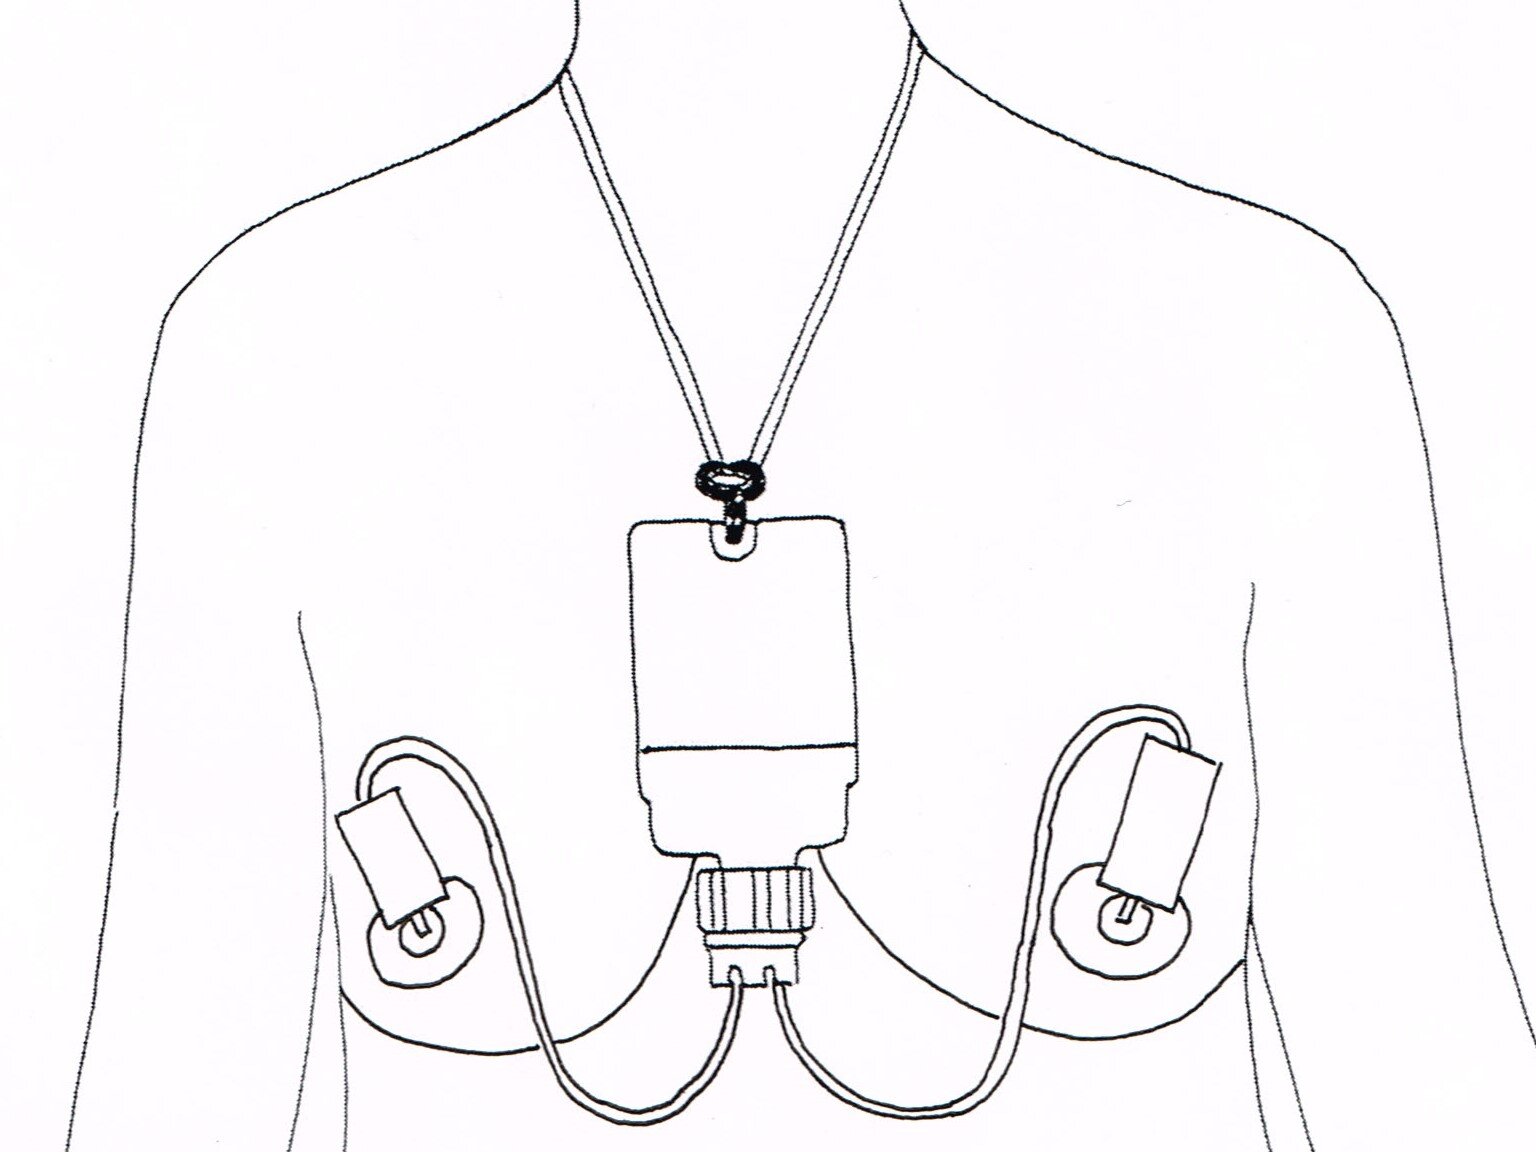
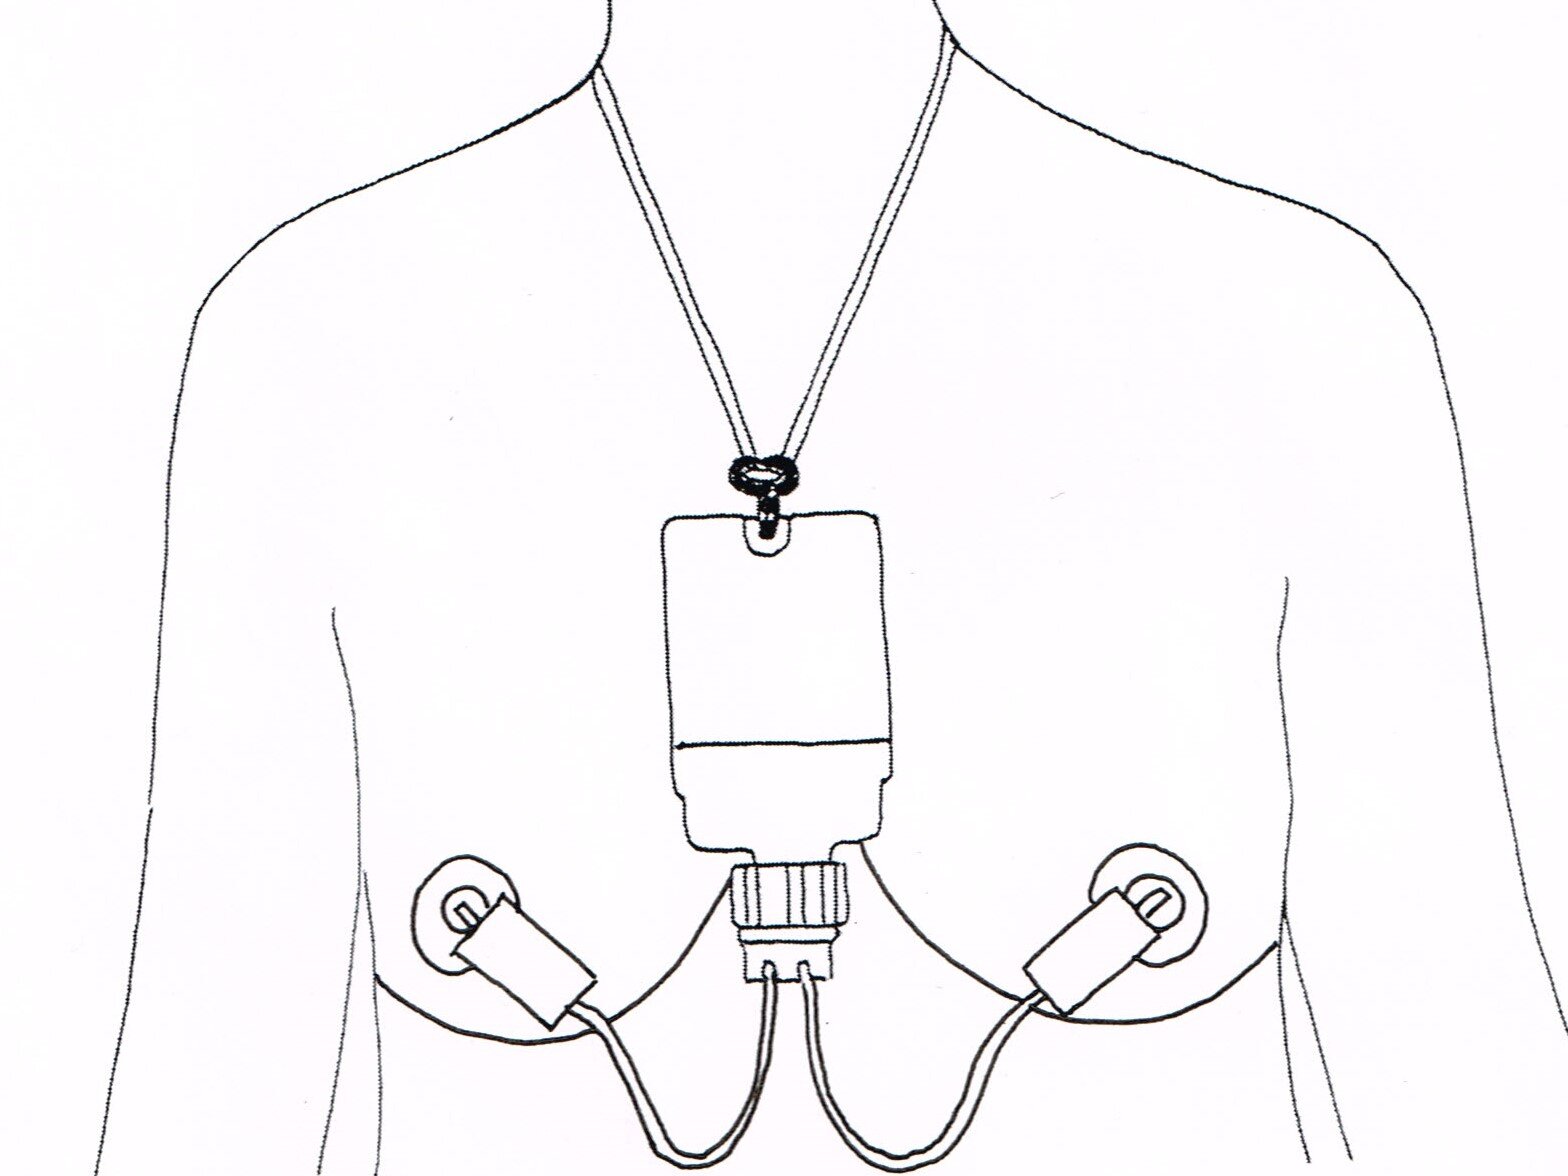
The Supplemental Nursing System (SNS) consists of the parts listed below. In addition you need mother’s milk or infant formula. Furthermore, it is convenient to have a hook and a dispenser for the adhesive tape.
An adjustable cord and hook (The hook does not come in the package. A coat hook from the dry goods store, a provisional paper clip or a hook you bend yourself are suitable)
A container for the milk
A yellow attachment ring
Soft sealing ring
3 hard rings with 2 tubes each (red = slow flow, white = medium flow, transparent = fast flow)
Adhesive tape (in the package). A dispenser (not in the package) for the adhesive tape is convenient
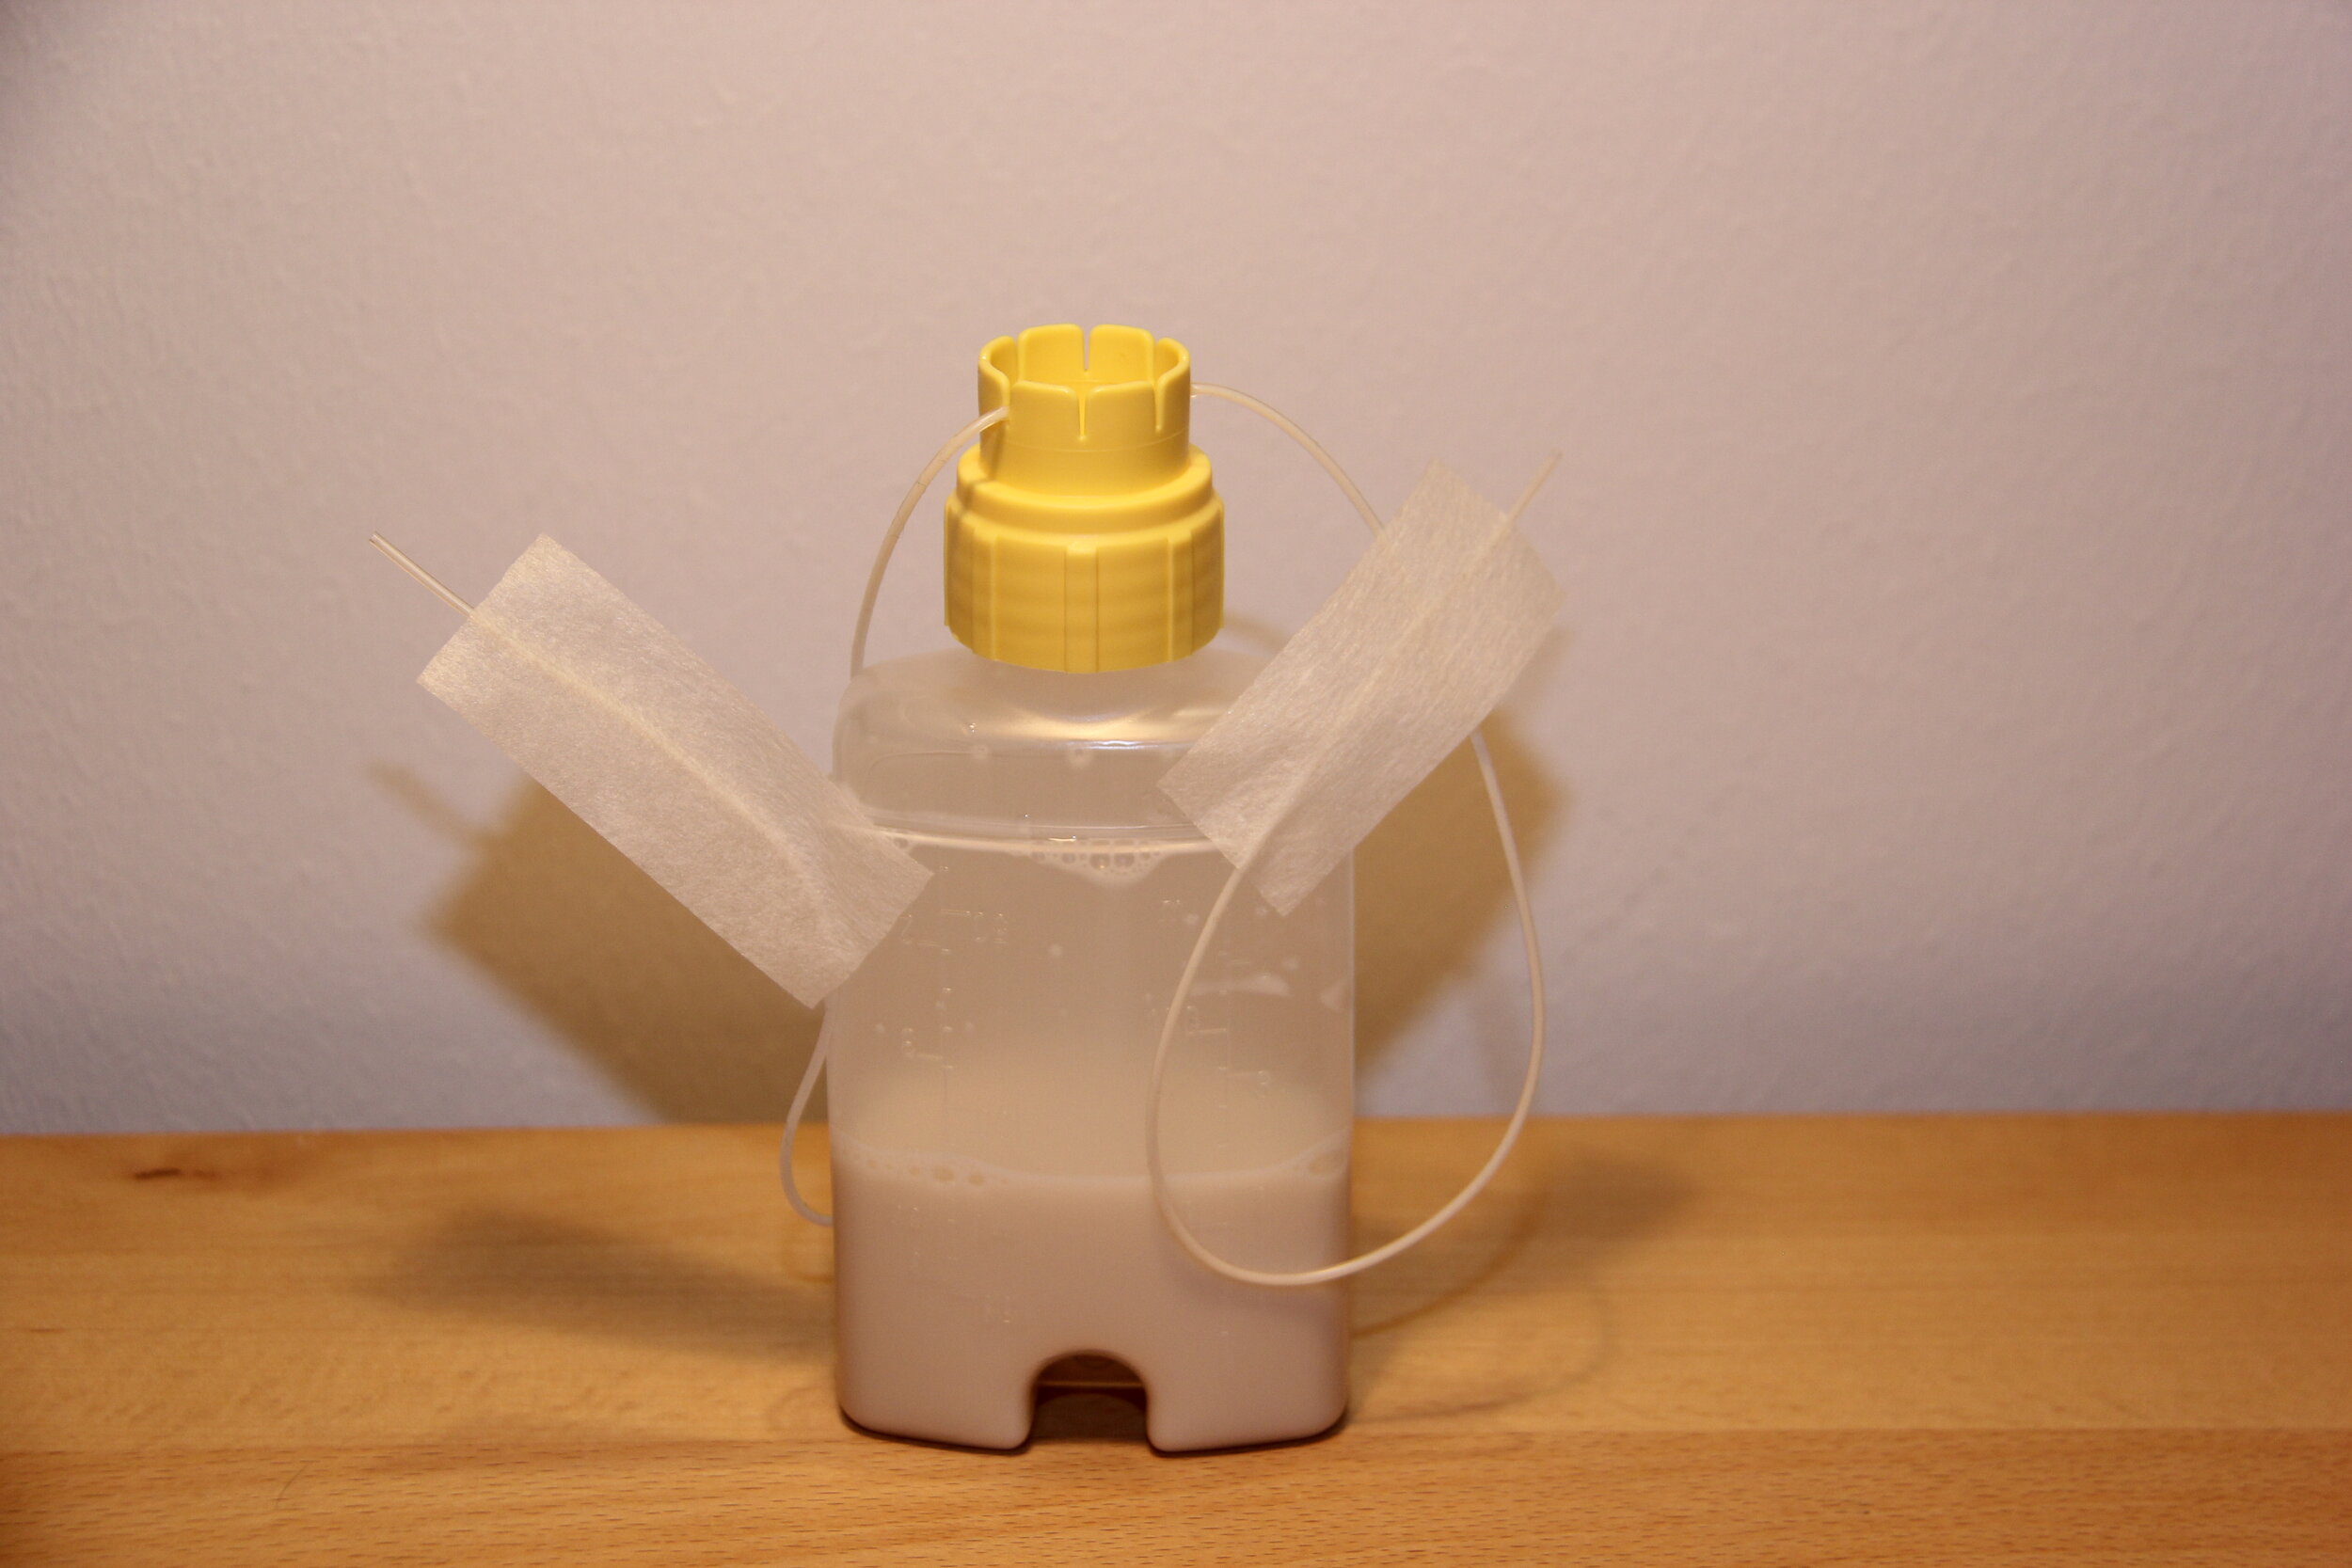
How to prepare the Supplemental Nursing System?
Before you use it for the first time, sterilize the parts of the Supplemental Nursing System in a vaporizer or boil them in distilled water – about 3 minutes.
The first time the baby is put to breast, it should be as easy as possible. Therefore, begin with the thickest tubing and immediate flow. The following video shows how you prepare the SNS simply and practically:
Breastfeeding place, clothing, hanging up the Supplemental Nursing System
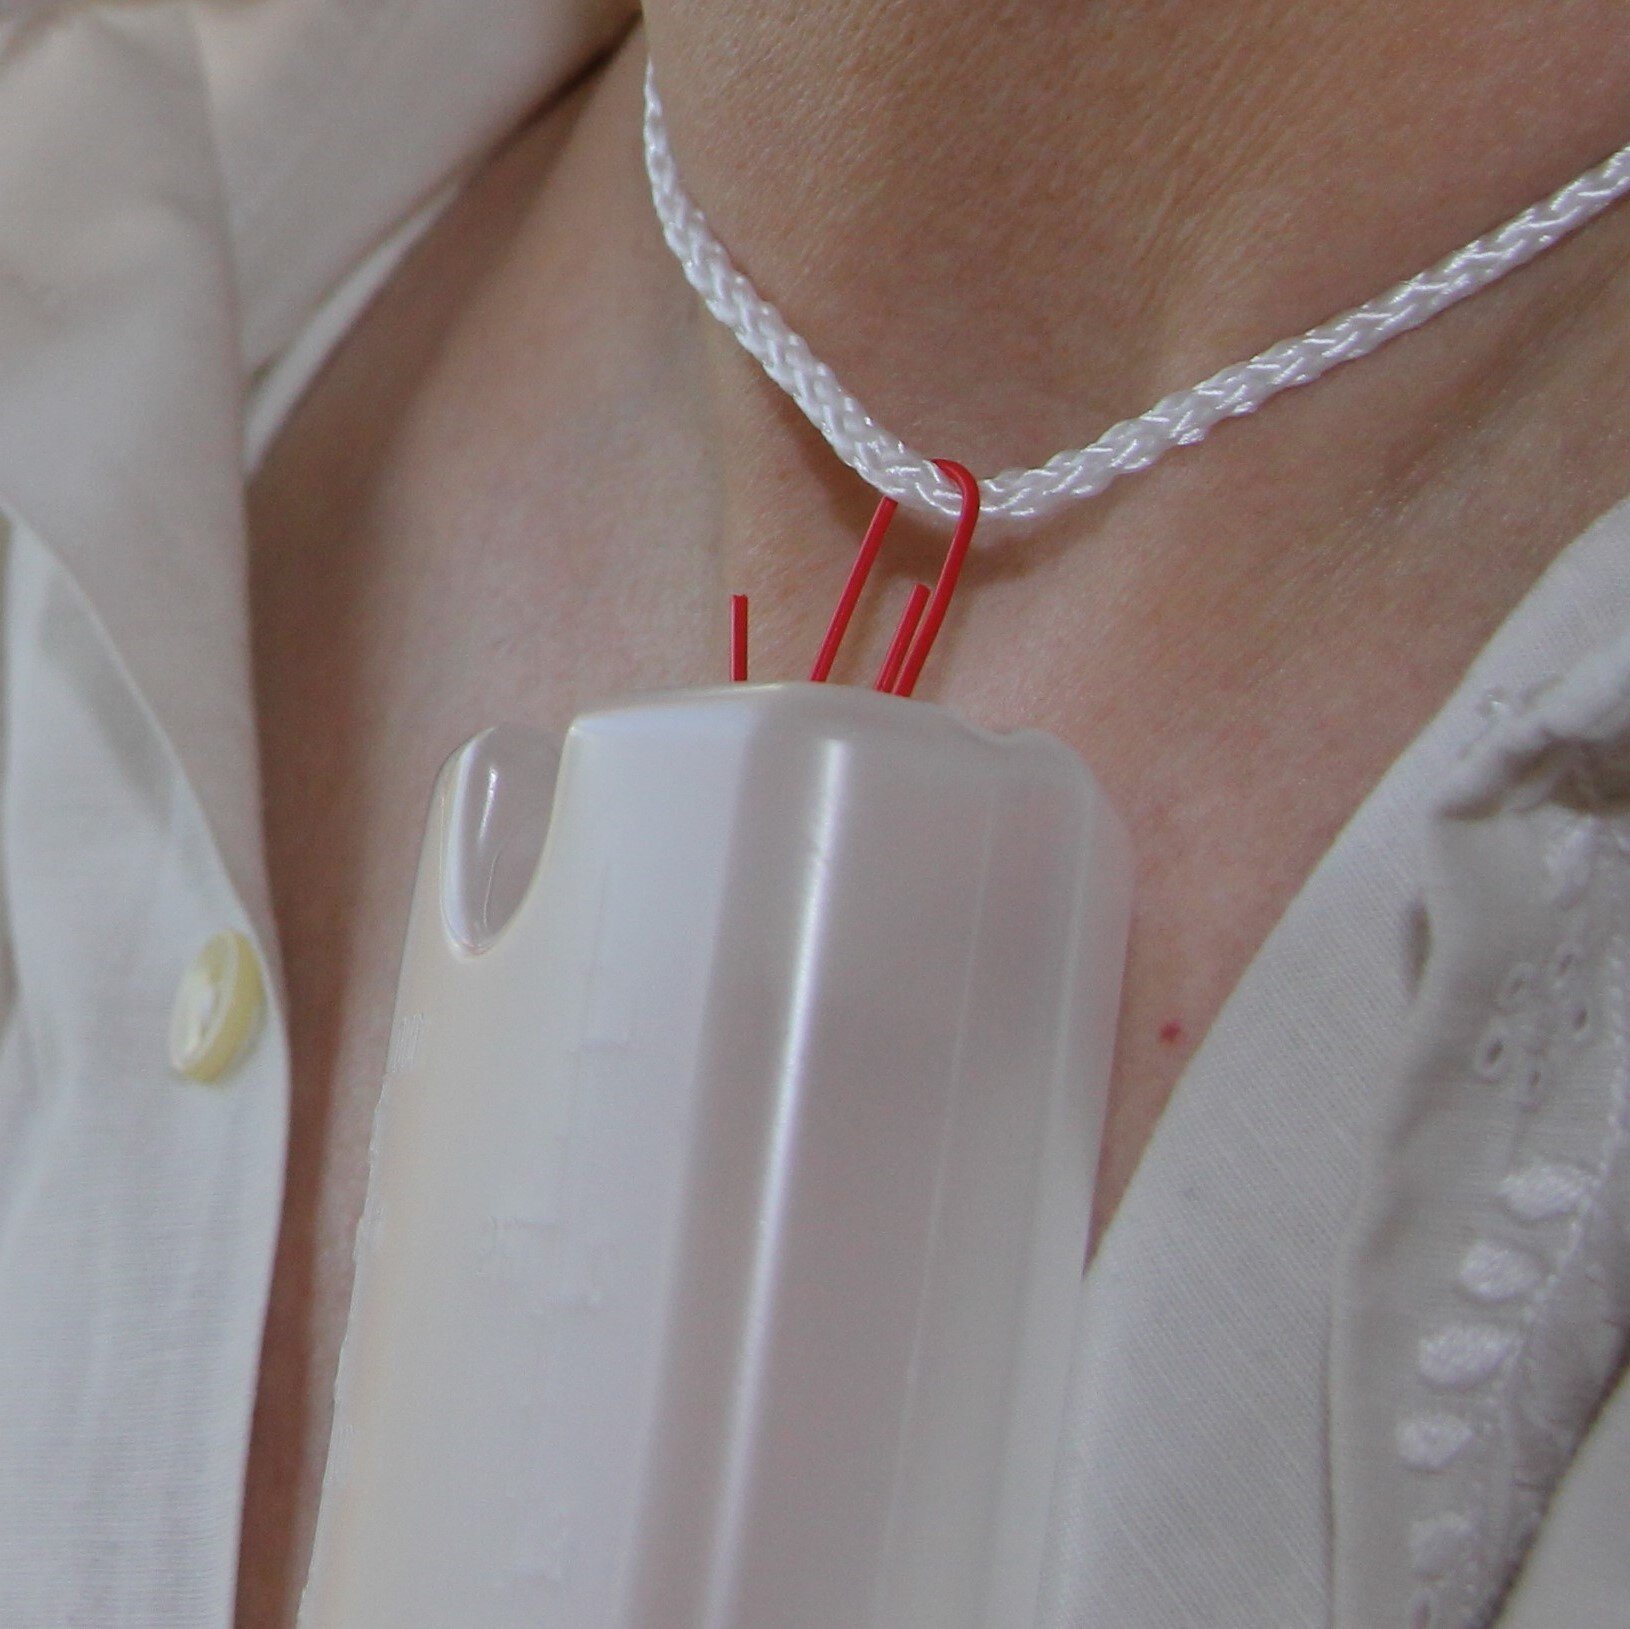
It is very practical to have a hook in order to quickly attach or detatch the feeding bottle from the neck cord. If you don’t (yet) have a hook available, then you can temporarily use a paper clip. You need a comfortable place to sit and pillows within reach. With the first attempt it is helpful if your breasts are completely free and also that your baby is wearing only a little clothing. Then you can lay the baby on your lap.
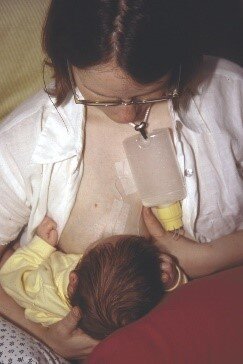
The SNS that you have prepared is nearby. You hang the SNS on the hook of the cord or in a provisional paper clip.
How do you tape the tubes to the breast?
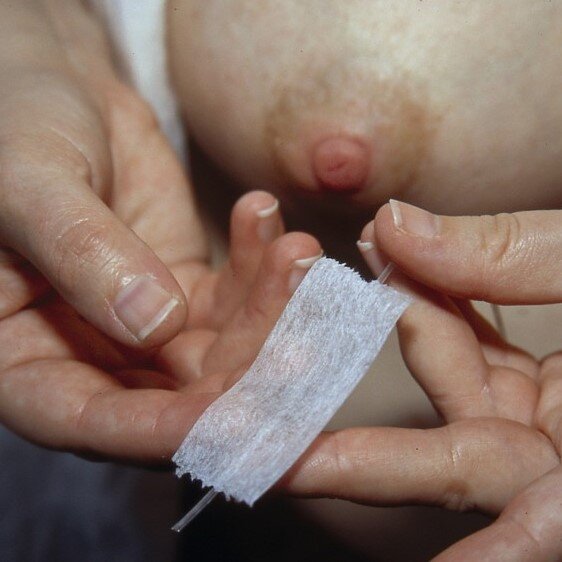
The proper taping of the tube(s) strongly influences how your baby copes with sucking with an at-breast supplementer.
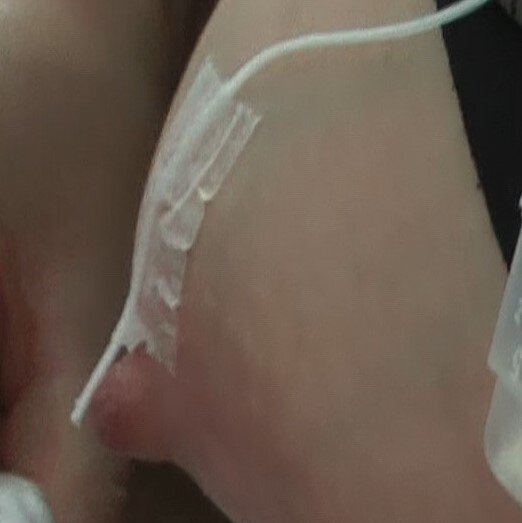
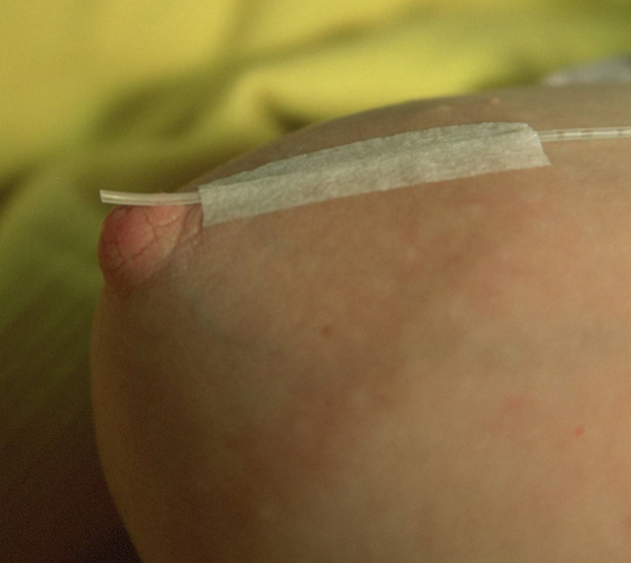
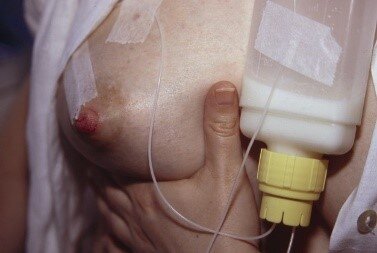
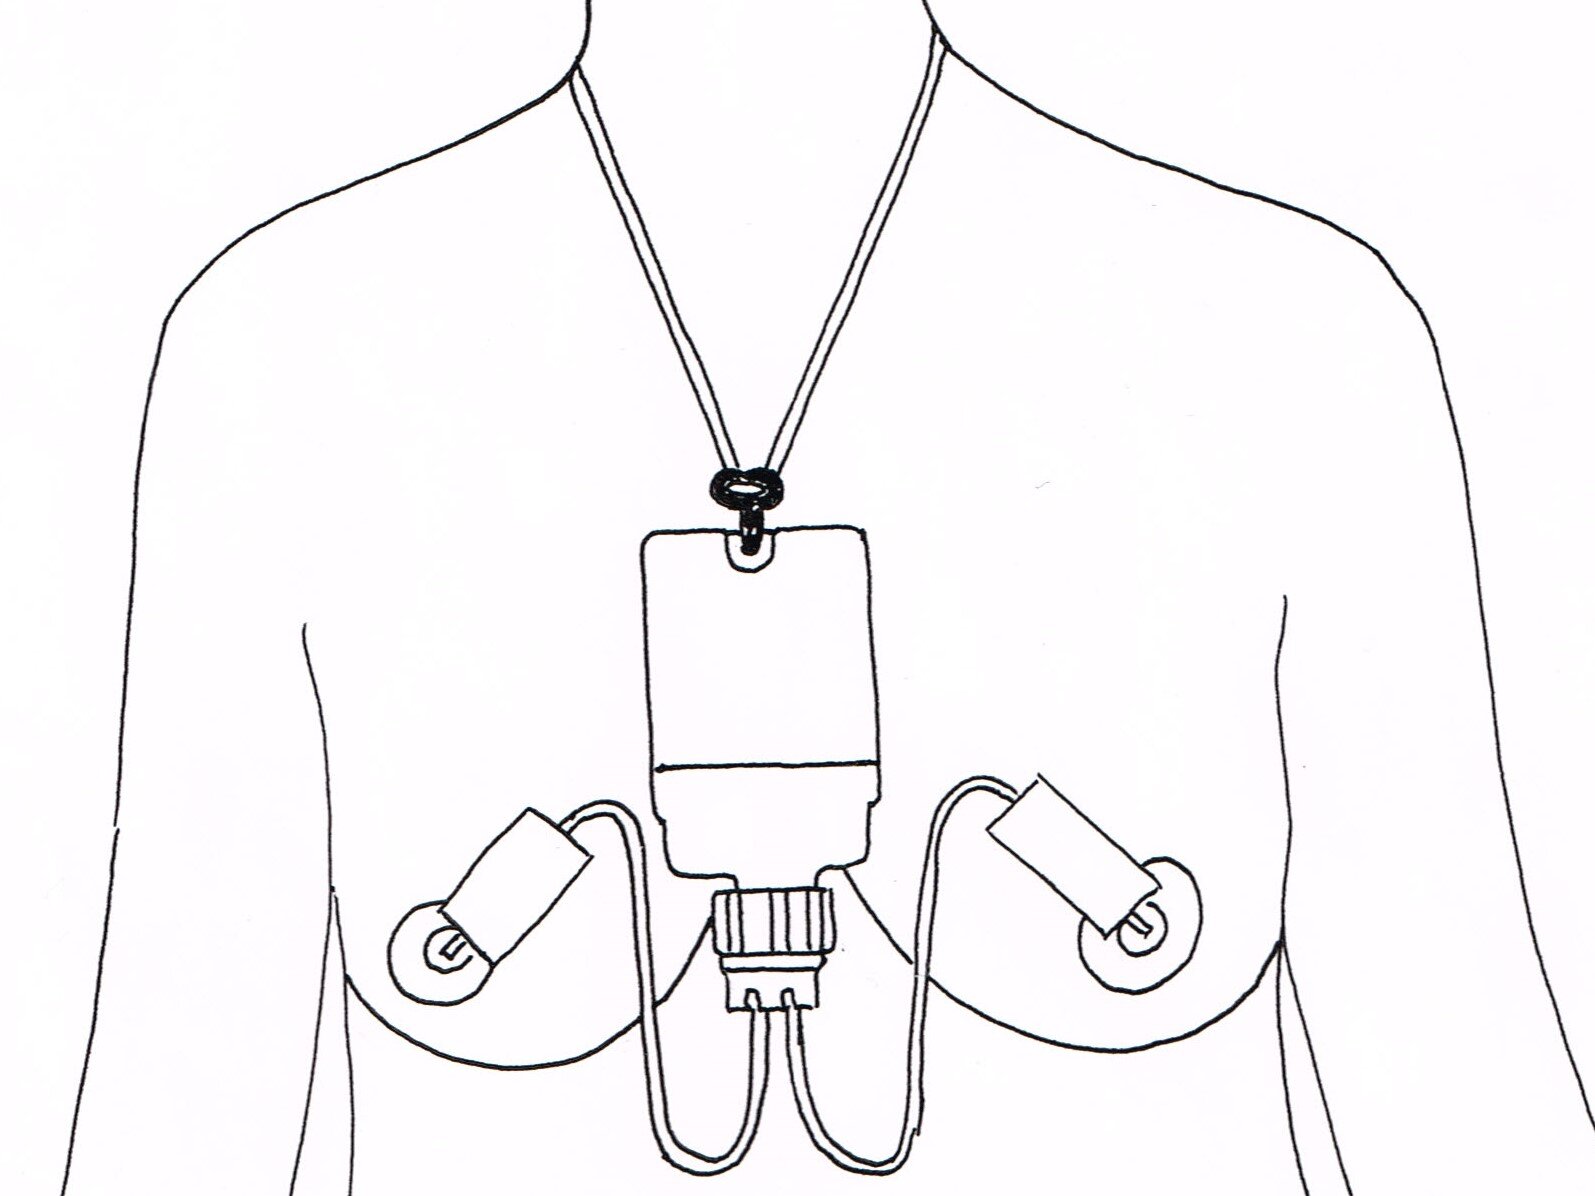
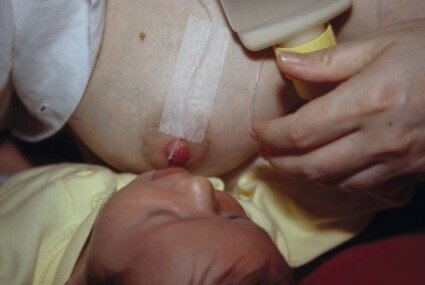
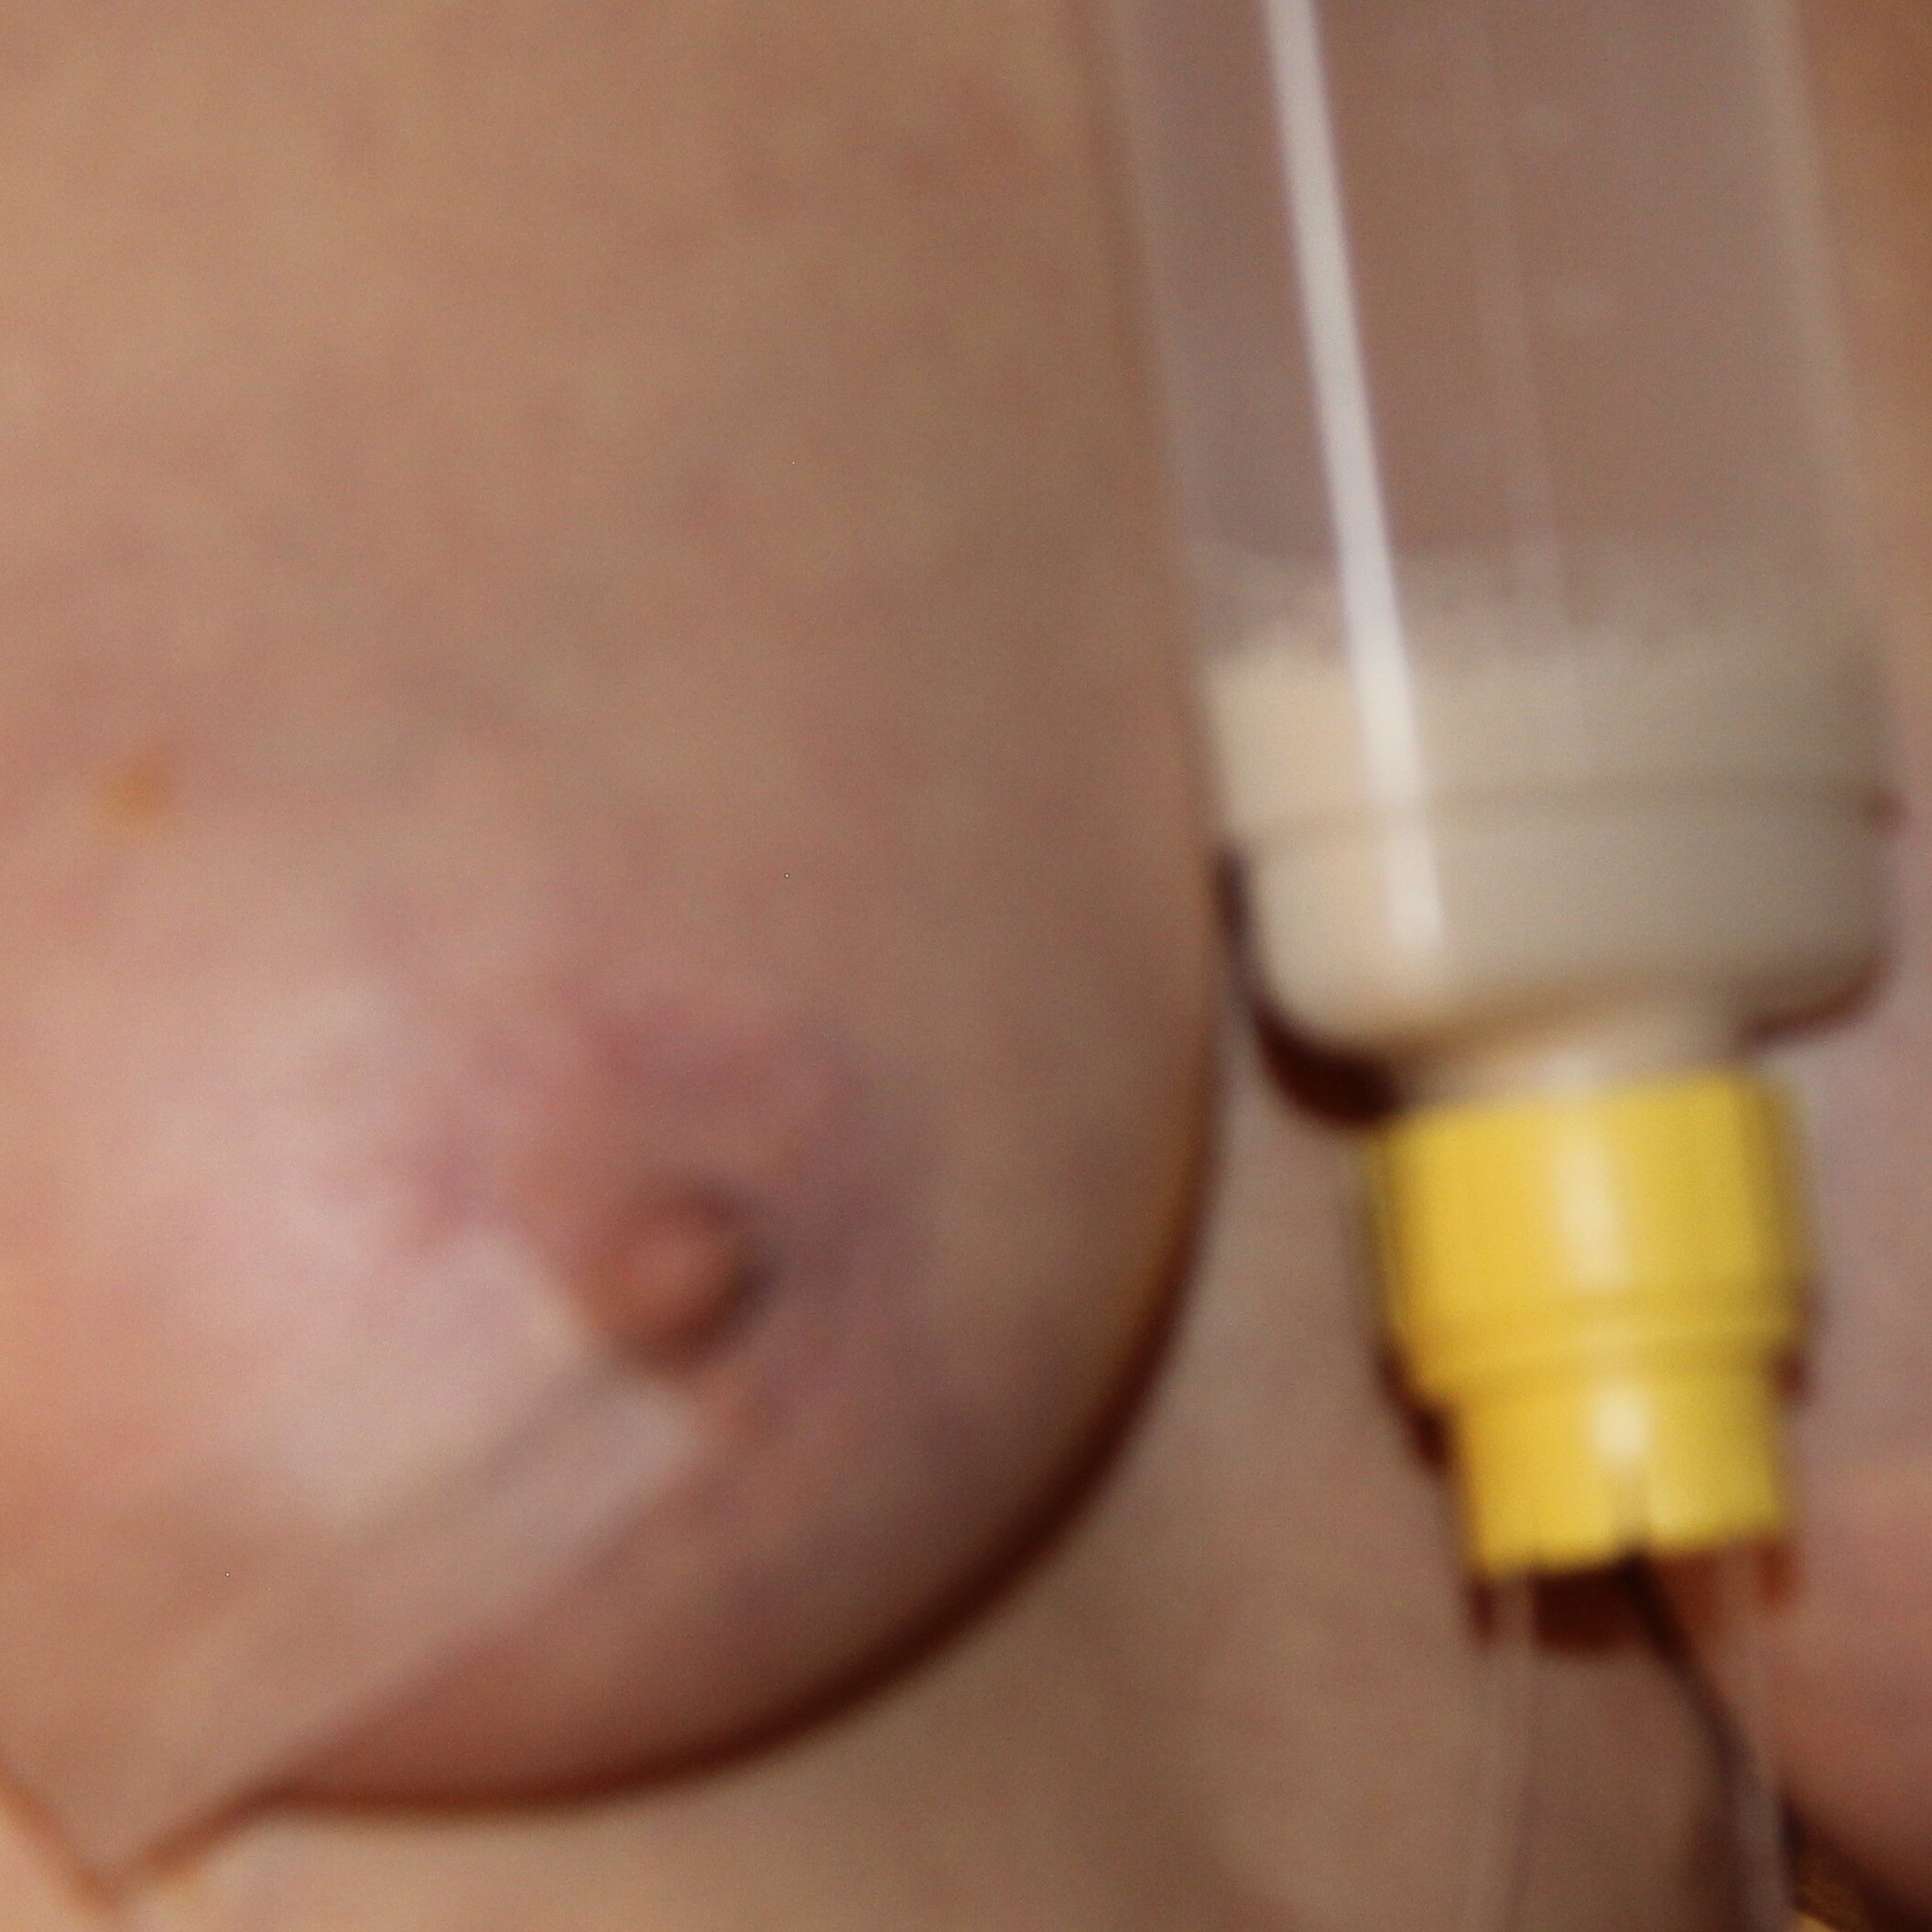
With help of the dispenser or with scissors, you cut a ca. 5cm long piece of the adhesive tape up. It is important that the tape is cut straight in order to attach well on the areola. First, place the tube lengthwise on the sticky side of the tape so that about 1 cm remains free. Then place tape and tube together on the breast so that the tape reaches the point where the nipple begins. Do not attach the tube to the nipple.
Two questions are important for deciding the direction in which you should attach the tubing:
What is your preferred breastfeeding position? (This is advantageous for the first attempts.)
Does your baby open his / her mouth WIDELY when latching (mostly in the first weeks…) or, rather, does he only open his / her mouth JUST A LITTLE (mostly with babies from four weeks on)?
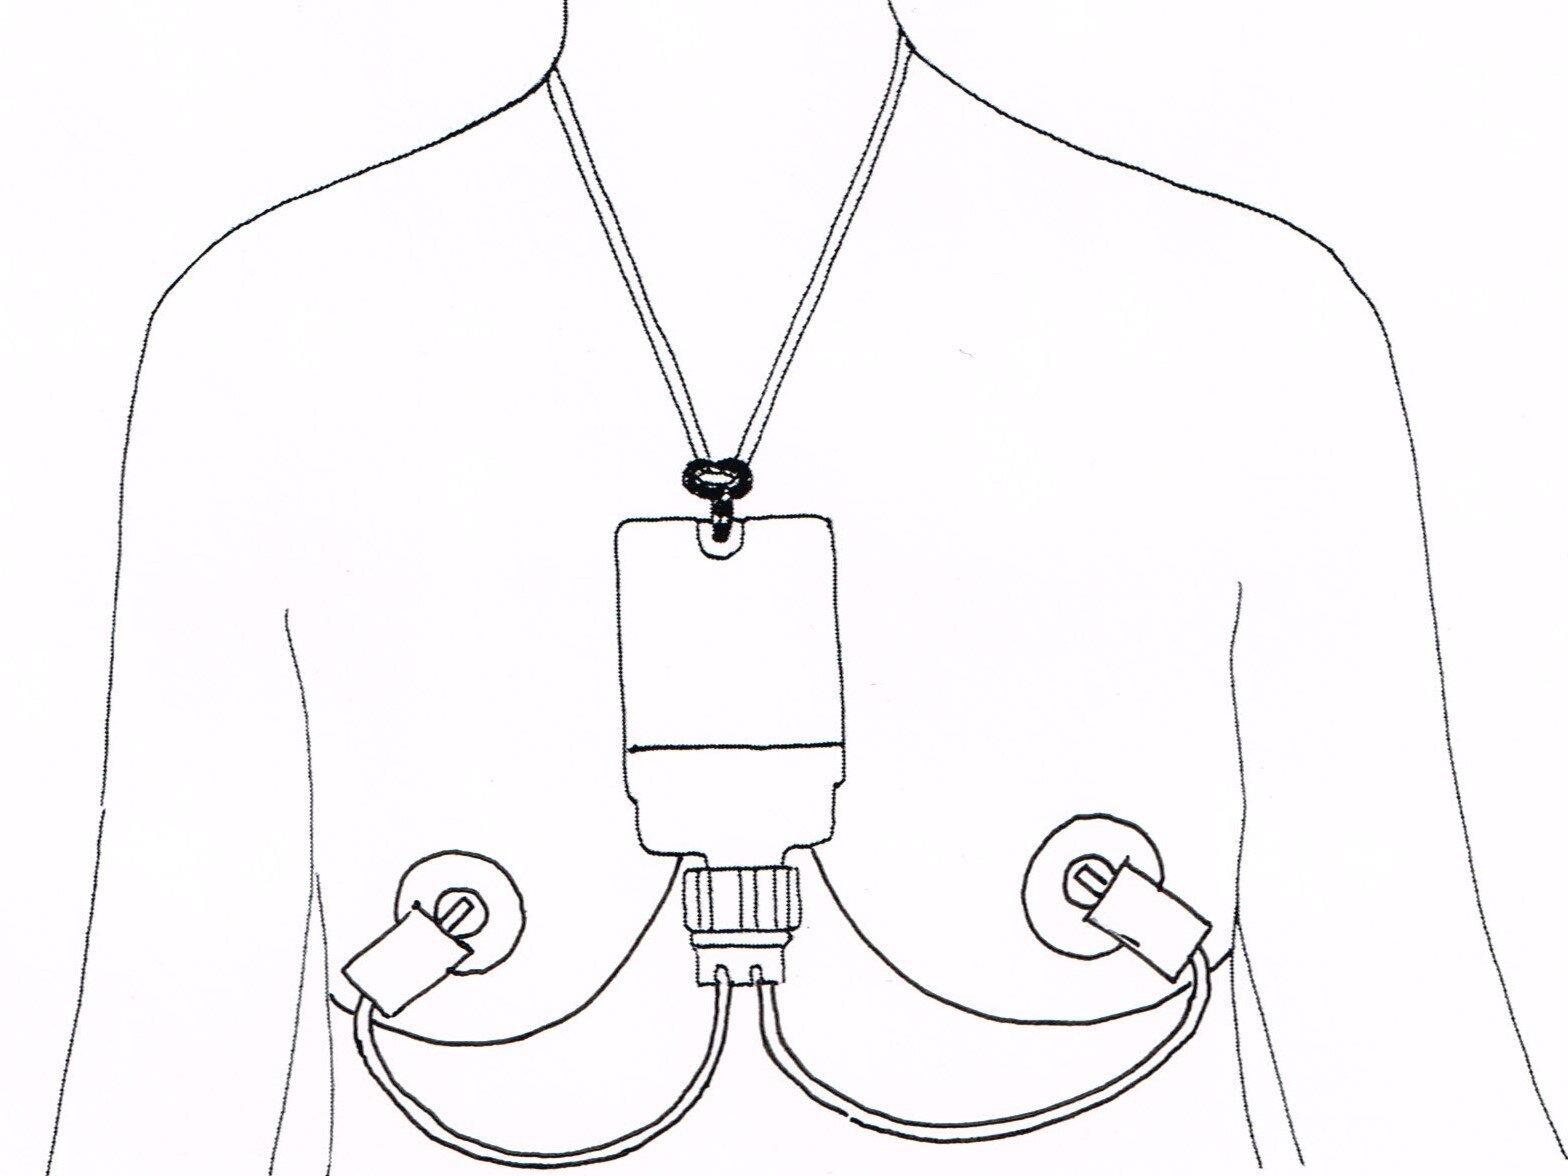
Select from the following pictures, how the taping is most convenient for you.
If you want to breastfeed in the cradle hold and your baby opens his / her mouth WIDELY when latching, attach the tube like this:
If you want to breastfeed in the cradle hold and your baby DOES NOT open his mouth WIDELY when latching, attach the tubing like this for an asymmetric latch:
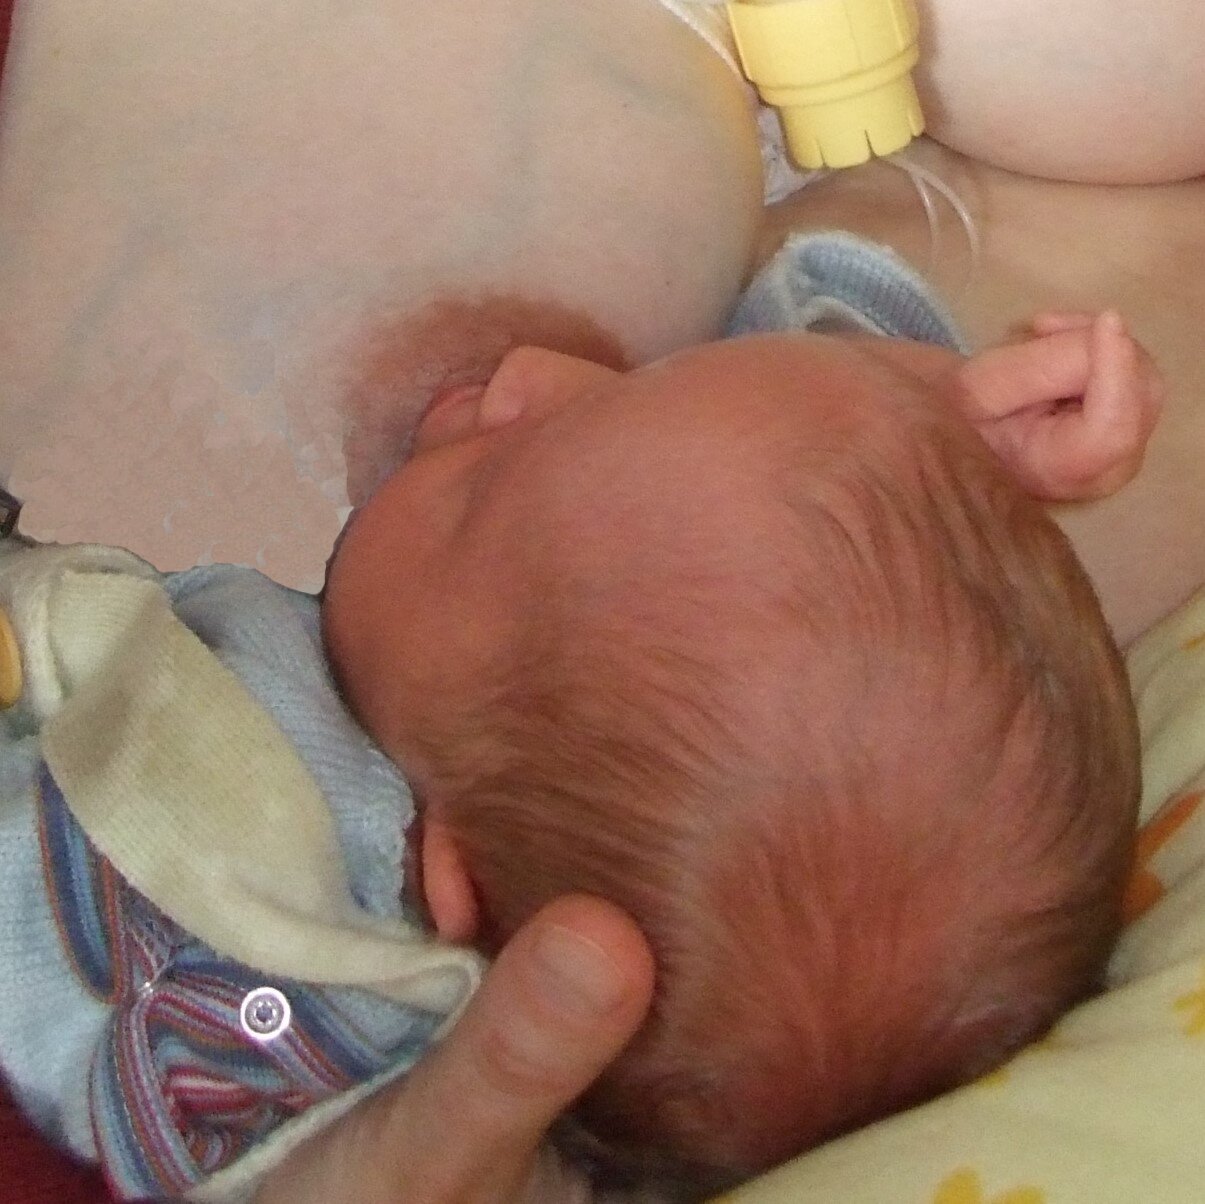
If you want to breastfeed using a lateral hold and your baby opens his mouth WIDELY when latching, fix the tubing in this way:
If you want to breastfeed using a lateral hold and your baby does NOT open his mouth WIDELY when latching, fix the tubing in this way for an asymmetric latch:
If you have attached the tubing to both breasts, you can change sides during breastfeeding. Air comes into the SNS through the second open tube.
The next steps
With the supplementer prepared, the next steps are: Latching & flow regulation
Helpful for at-breast supplementation are some Important details & further information
Back to the Overview At-breast supplementation
© 2020 Márta Guóth-Gumberger. All rights reserved.

